Remote applications maintenance mode
Nerdio Manager allows administrators to place specific remote applications into maintenance mode to allow for changes, while keeping the RemoteApp session host VM active for other applications.
Note: You may not enable maintenance mode if there are users in the host pool currently using the RemoteApp. Nerdio Manager displays a message if there are active users and the request fails.
To enable a remote application's maintenance mode immediately:
-
Select the host pool you want to work with. This is a host pool configured for the RemoteApp (Pooled) desktop experience.
-
From the more options
 menu, select Applications > RemoteApps.
 -
Locate the RemoteApp you wish to work with, and from the more options
menu, select Enable Maintenance.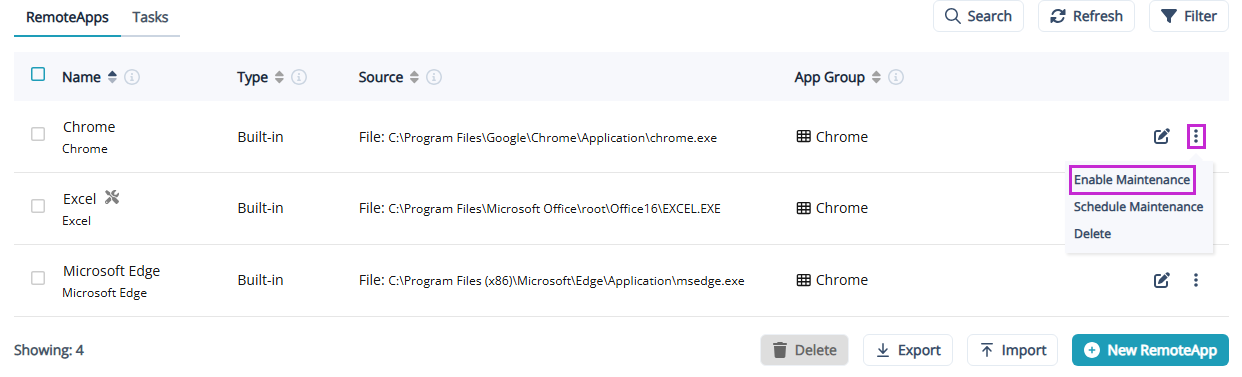
-
Enter the following information:
-
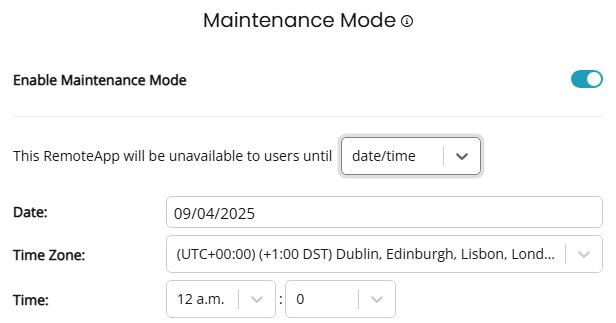
In the Maintenance Mode dialog box, toggle Enable Maintenance Mode: to enable or disable maintenance mode.

-
This RemoteApp will be unavailable to users until: From the drop-down list, select one of the following:
-
re-enabled: Select this option to leave the RemoteApp in maintenance mode until it is manually removed from maintenance mode.
-
date/time: Select this option to automatically remove the RemoteApp from maintenance mode when the specified date/time is reached.
-
Date/Time Zone/Time: Specify the date and time the RemoteApp should automatically be removed from maintenance mode.
-
-
-
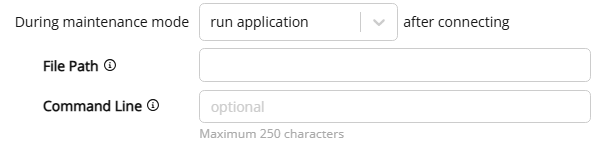
During maintenance mode: From the drop-down list, select the action to perform when the user tries connecting to a RemoteApp in maintenance mode.
-
For run application:
-
File Path: Type the path to application executable on the session host.
-
Command Line: Optionally, type any command line settings.
-
-
For show message box:
-
Message Text: Type the message the user sees when connecting to a RemoteApp in maintenance mode.

-
-
-
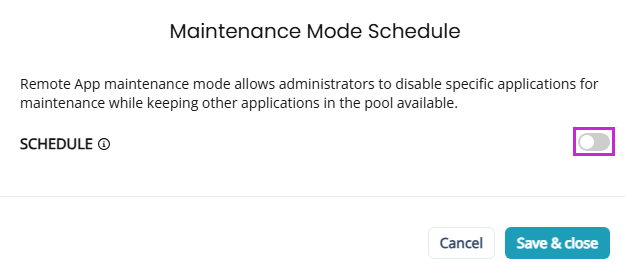
Once you have entered the desired information, select Save & close.
Note: The list of RemoteApps displays a maintenance icon for all RemoteApps in maintenance mode.

To schedule a remote application's maintenance mode:
-
Select the host pool you want to work with. This is a host pool configured for the RemoteApp (Pooled) desktop experience.
-
From the more options
menu, select Applications > RemoteApps. -
Locate the RemoteApp you wish to work with, and from the more options
menu, select Schedule Maintenance. -
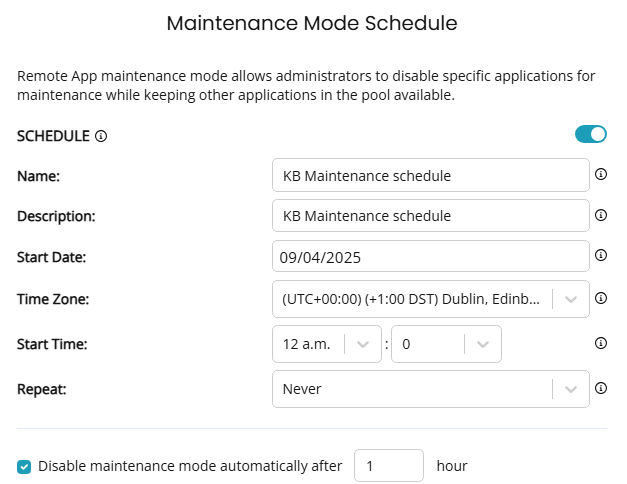
In the Maintenance Mode Schedule dialog box, toggle Schedule to enable or disable maintenance mode.
-
Enter the following information:
-
Name: Enter a name for the maintenance schedule.
-
Description: Enter a description for the maintenance schedule.
-
Start Date: Type the date to start.
-
Time Zone: From the drop-down list, select the time zone for the Start time.
-
Start Time: From the drop-down lists, select the time to start.
-
Repeat: From the drop-down list, select the recurring schedule, if desired.
Note: The drop-down has the option Monthly "After Patch Tuesday". This allows you to create a recurring schedule based on Patch Tuesday.
-
Days After: If you selected After Patch Tuesday, type the number of days after Patch Tuesday to run the scheduled task.
-
-
Disable maintenance mode automatically after: Optionally, select this option to automatically disable maintenance mode after the specified number of hours.
-
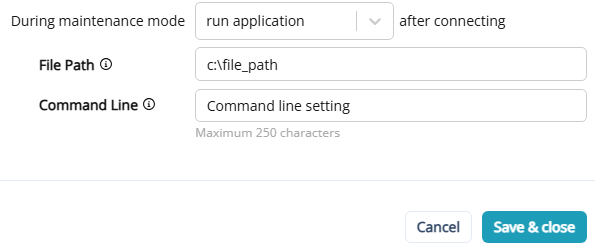
During maintenance mode: From the drop-down list, select the action to perform when the user tries connecting to a RemoteApp in maintenance mode.
-
For run application:
-
File Path: Type the path to application executable on the session host.
-
Command Line: Optionally, type any command line settings.
-
-
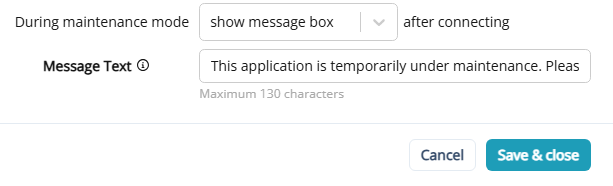
For show message box:
-
Message Text: Type the message the user sees when connecting to a RemoteApp in maintenance mode.
-
-
-
-
Once you have entered the desired information, select Save & close.