Windows 365: Use and Configure Desktop Images for Cloud PCs
Note: Before you start this topic, be sure that you have read Windows 365 Enable and Configure Cloud PCs.
This topic contains additional information about using and configuring Windows 365 Cloud PC Desktop Images using Nerdio Manager. Desktop images that you are familiar with in Nerdio Manager can also be used for Cloud PCs.
Warning:
These are the Windows 365 limitations:
-
Windows 365 only supports single-session operating systems. That means the multi-session EVD version of Windows 10/11 is not supported.
-
Cloud PCs and images only support Generation 2 VMs in Azure and not Generation 1.
-
There is a limit of 20 custom images per Entra ID tenant.
Create a Desktop Image for Cloud PC
Creating a desktop image for Cloud PC is basically the same as creating a regular desktop image, with a few important differences.
To create a new desktop image for Cloud PC:
-
Navigate to Desktop Images.
-
Select Add from Azure library.
-
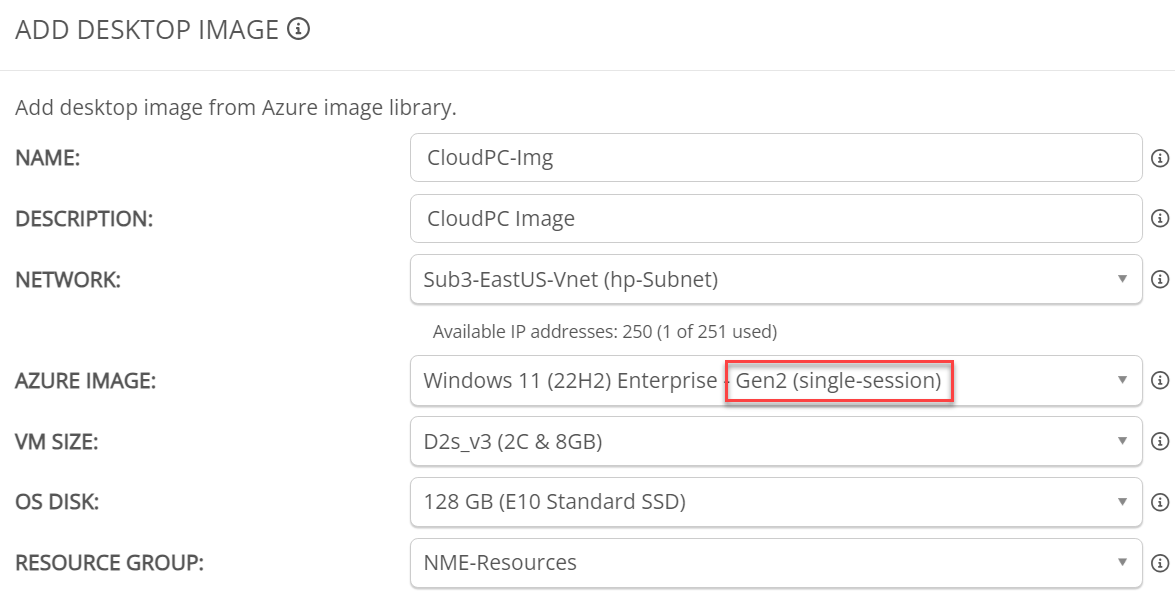
Enter the desired Name, Description, etc.
-
In the Azure Image drop-down, be sure to select Windows 10 single-session version, or Windows 11 single-session version, and Gen 2.
-
Select Enable for cloud PCs.
Note: Selecting this option tells Nerdio Manager to prepare this desktop image for Cloud PC and upload it to the Windows 365 service.
-
Enter any other desired desktop image configuration information.
-
-
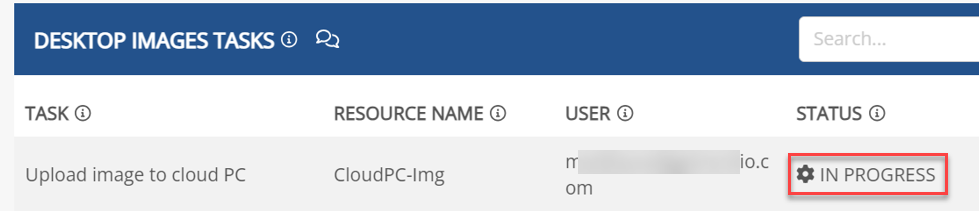
Once you have entered all the desired information, select OK.
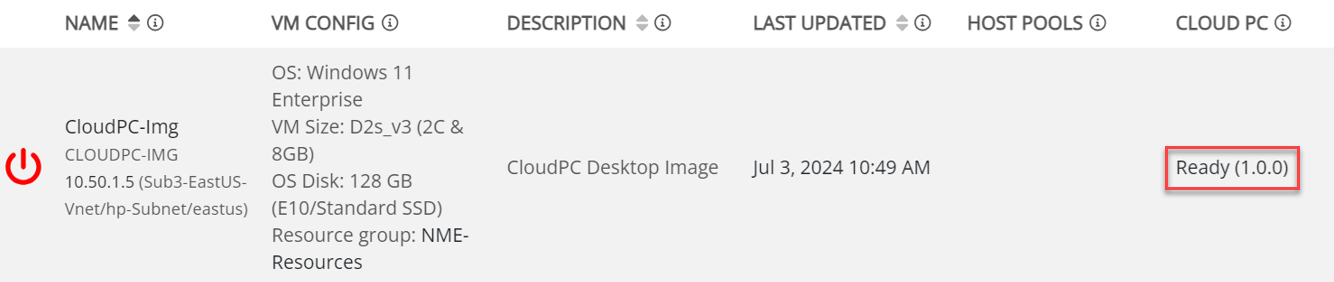
The image comes online, and its Cloud PC status is displayed in the Cloud PC column.
Note: This process may take 1-2 hours to complete.
-
In the Cloud PC column, select Ready to open the image in your Intune Admin Center.
Manage Desktop Image for Cloud PC
Nerdio Manager allows to you change a desktop image that was created for Cloud PC.
To change an existing desktop image for Cloud PC:
-
From the main menu, select Desktop Images.
-
Locate the desired desktop image make sure it is powered on.
-
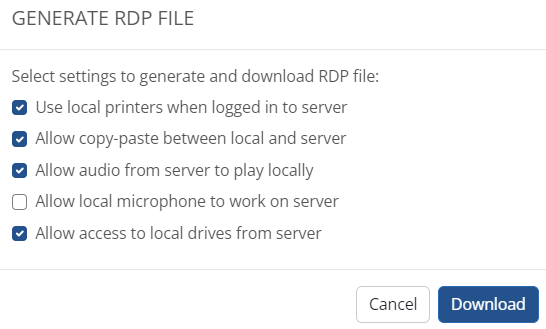
From the action menu, select Generate RDP file.
-
Select your RDP options and then select Download.
-
Open the RDP file and log in the virtual machine.
-
Make the desired changes on the virtual machine.
-
Back in Nerdio Manager, from the action menu, select Power off & set as image.
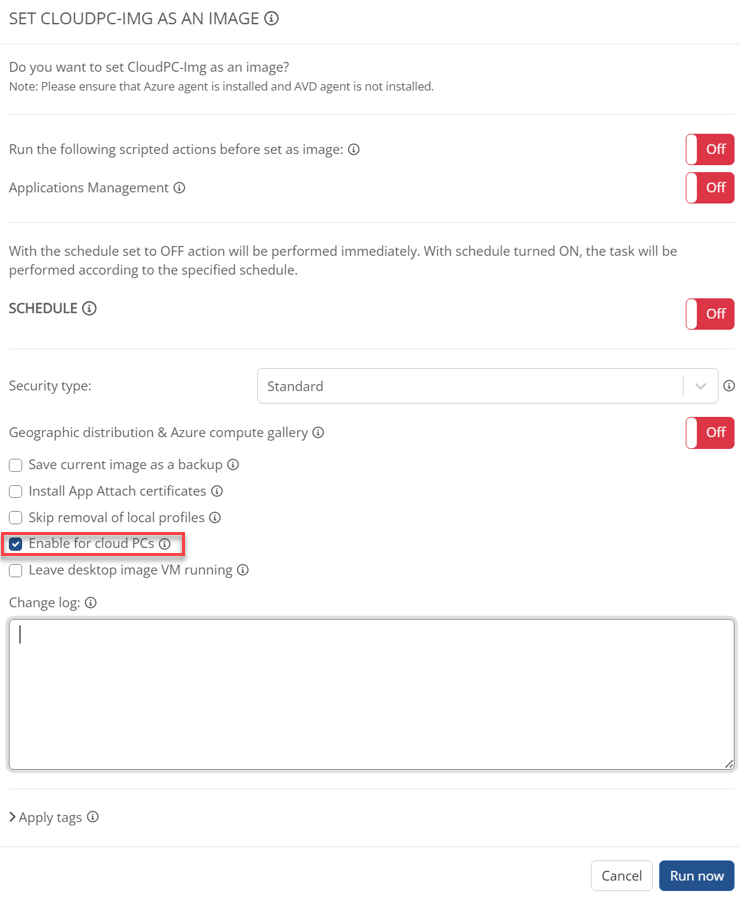
Note: Since this desktop image was created for Cloud PC, option Enable for cloud PC is already selected.
-
Select Run Now.
Notes:
-
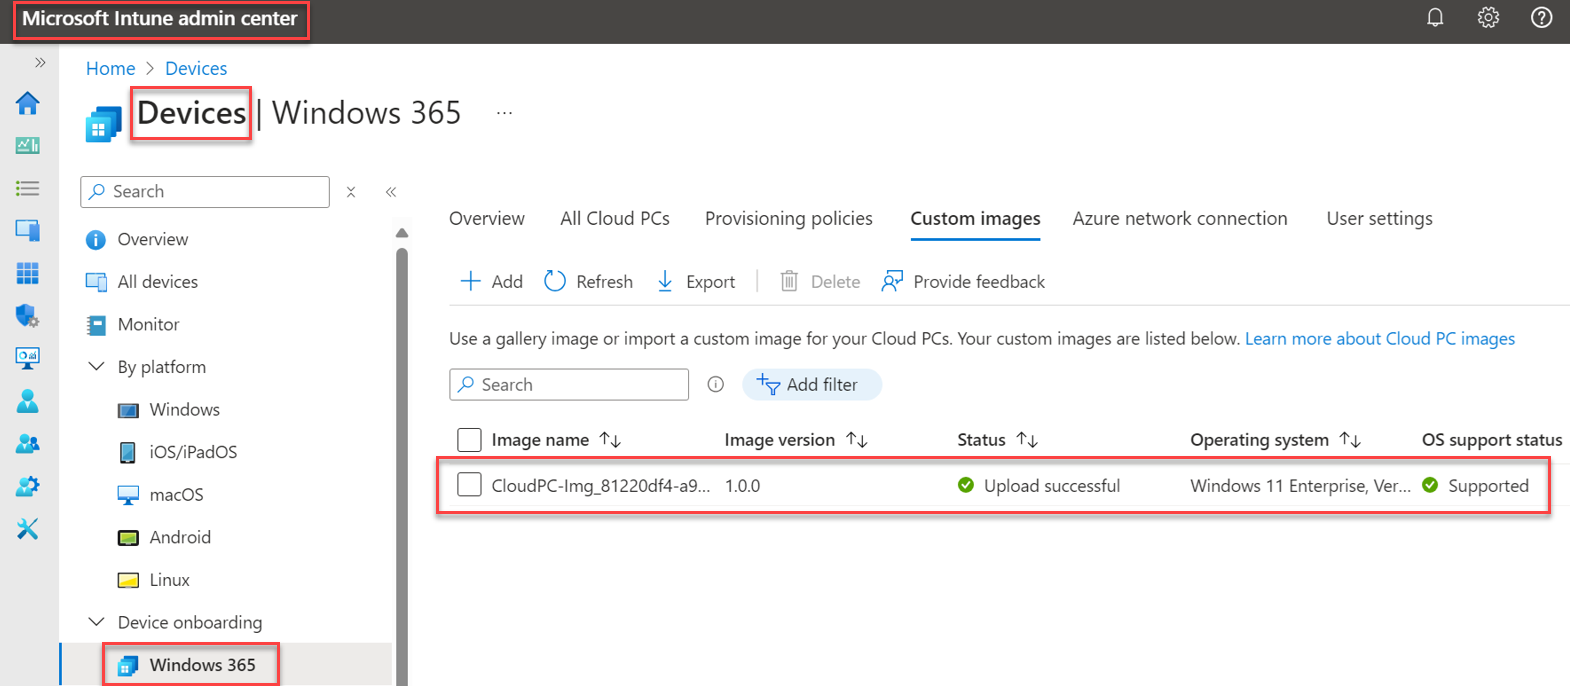
All the changes to the image are stored as an Azure image, as well as uploaded to the Cloud PC service with a new version: Intune Admin Center > Devices > Windows 365 > Custom images tab.
-
You can use this new Cloud PC image for Windows 365 provisioning policies.
-