Add a new session host to a static host pool
Warning: Nerdio Manager does not install the BgInfo Azure extension during any automation or management process. However, the BgInfo extension may be installed either through a scripted action directly, or unintentionally, as stated in the Azure PowerShell module issues report.
Once a host pool is created, you can manually add session hosts.
To add a session host to a static host pool:
-
Locate the static host pool you wish to work with.
-
Select from the following:
-
Classic UI: From action menu, select Hosts > Add new.
-
New UI: From the more options
 menu, select Hosts > Add new.
-
-
Enter the following information:
Note: For several of the required parameters, you may filter the available choices by using the Resource Selection Rules. For example, you may filter the VM Size or OS Disk choices for Intel RAM-optimized VMs only. See Resource Selection Rules Management for details.
-
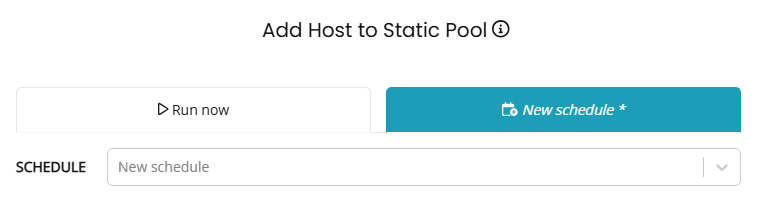
Select Run now or Schedule.
-
The Schedule tab allows you to perform the task during selected time frame(s). Otherwise, the task starts as soon as you select OK. See Manage Schedules for Tasks for details about creating a schedule. Select the schedule from the drop-down list, or create a new schedule.
-
- Host Count: Type the number of session hosts to add to the host pool.
- Host Name: Type the name of the newly added hosts for the Exact name, a Prefix or the Prefix+Pattern.
Exact/Prefix/Pattern: From the drop-down list, select whether to use an Exact name, a Prefix, or a Pattern.
Note:
Exact applies when adding a single host and specifying an exact name. For example, MYADVHOST.
Prefix can be used when creating multiple session hosts. The Prefix limit is 10 valid, Windows computer name characters. When using a Prefix, a unique suffix is automatically appended in the format "-xxxx", where xxxx are 4 random alphanumeric characters. For example: AVDHOST-s72h. Do not add a "-" to the Prefix.
Pattern can be used to specify an advanced naming convention for new hosts. Pattern characters must be enclosed in {} and can be # (for sequential numbers) and/or ? (for random alphanumeric characters). One # implies numbers from 0 to 9, two #s implies numbers of 0 to 99, etc.
Example 1: AVDHOST{###} (AVDHOST000..AVDHOST999).
Example 2: AVDHOST-{???} (AVDHOST-d83, AVDHOST-7sl, etc.).
-
Network: From the drop-down list, select the network. The network determines the Azure region of the VM.
-
Desktop Image: From the drop-down list, select the desktop image that is used as the golden image for newly created session hosts.
Note: The Unmanaged Azure Compute Gallery image versions section is at the bottom of the list. These are unmanaged, backup versions of images that were created while activating staged images. These images can be used to restore any changes made to session hosts.
-
VM Size: From the drop-down, select the VM disk size and type for newly created session hosts.
-
OS Disk: From the drop-down list, select the OS Disk type and size for newly created session hosts. Select optional filters if required to show specific OS disk types. For example, select All disks performance tiers to show the premium SSD disks.
Note: This must be equal to or larger than the size of the Desktop Image selected above. Using Standard HDD (S-type) is not recommended. Premium SSD provides best performance.
-
Resource Group: From the drop-down list, select the resource group to contain the VMs.
-
Apply tags: Optionally, type the Name and Value of the Azure tag to apply to the session host.
Note: You may specify multiple tags. See this Microsoft article for details about using tags to organize your Azure resources.
-
Schedule: Optionally, toggle on the schedule, and enter the schedule information, to run this job per the schedule.
-
-
Once you have entered all the desired information, select Run now (not scheduled) or Save & close and Save (scheduled).